In this page you can find all the important info you are looking for about design and installation of fiducial markers in your environment.
Design
- Shape – as a general rule, shapes with angles/edges are those where Dragonfly detects the highest number of features. For this reason Onit has prepared a library of PDF images ready to be printed. Those images looks like QR codes. Please write to us at this link and we will be pleased to share the library with you! The PDF images contains a white border to make the detection of the fiducial panels more robust. The white border must be kept as is and not reduced!
- Color – to make the features visible the PDF images are black and white. Ideally with matte inks.
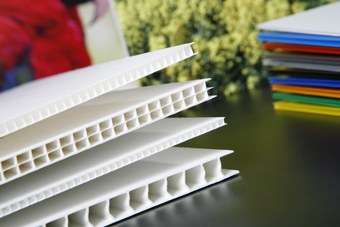
- Material – to have fiducial panels that are lightweight, robust and resistant to seasonal thermal change, we suggest print the images on:
- polypropylene honeycomb – with a thickness that ranges from 1 cm (a.k.a. 3 layers). You might need also a metal frames depending on the mounting surface and size of the panels.
- stickers – cheaper and good for plain/smooth surfaces.
- Size – we have developed an ad-hoc spreadsheet that can be used to compute accurately the size of your panels to optimize the cost/benefit. Write to us at this link and we will be pleased to share it with you. Generally speaking the size of the panels is a function of:
- The computation unit on which Dragonfly runs on – a powerful computation unit means smaller the panels.
- The FOV at which the panels will have to be detected – The idea is simple: a narrow FOV makes the ceiling look closer and the panels can be smaller. But on the other side with a narrow FOV Dragonfly might get lost more easily if the camera moves fast because there will be less panels visible simultaneously in each frame. So to face this problem additional panels must be installed to create a more dense deployment.
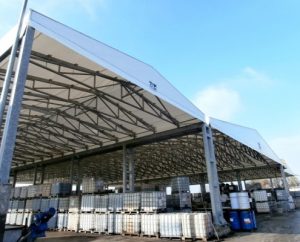
- The height at which the panels will be mounted – in case of tilted ceilings with multiple heights you can consider for the computation the worst case scenario which is the highest height.
- The height at which the camera will be mounted on the forklift – usually 200-230 cm form the ground.
- Spacing – the ideal situation is to have 2 fiducial panels always visible by the camera during the navigation. We have developed an ad-hoc spreadsheet that can be used to compute accurately the theoretical spacing between the panels. Write to us at this link and we will be pleased to share it with you. In addition to the theoretical distance the displacement must take into account that the fact that the panels must be placed:
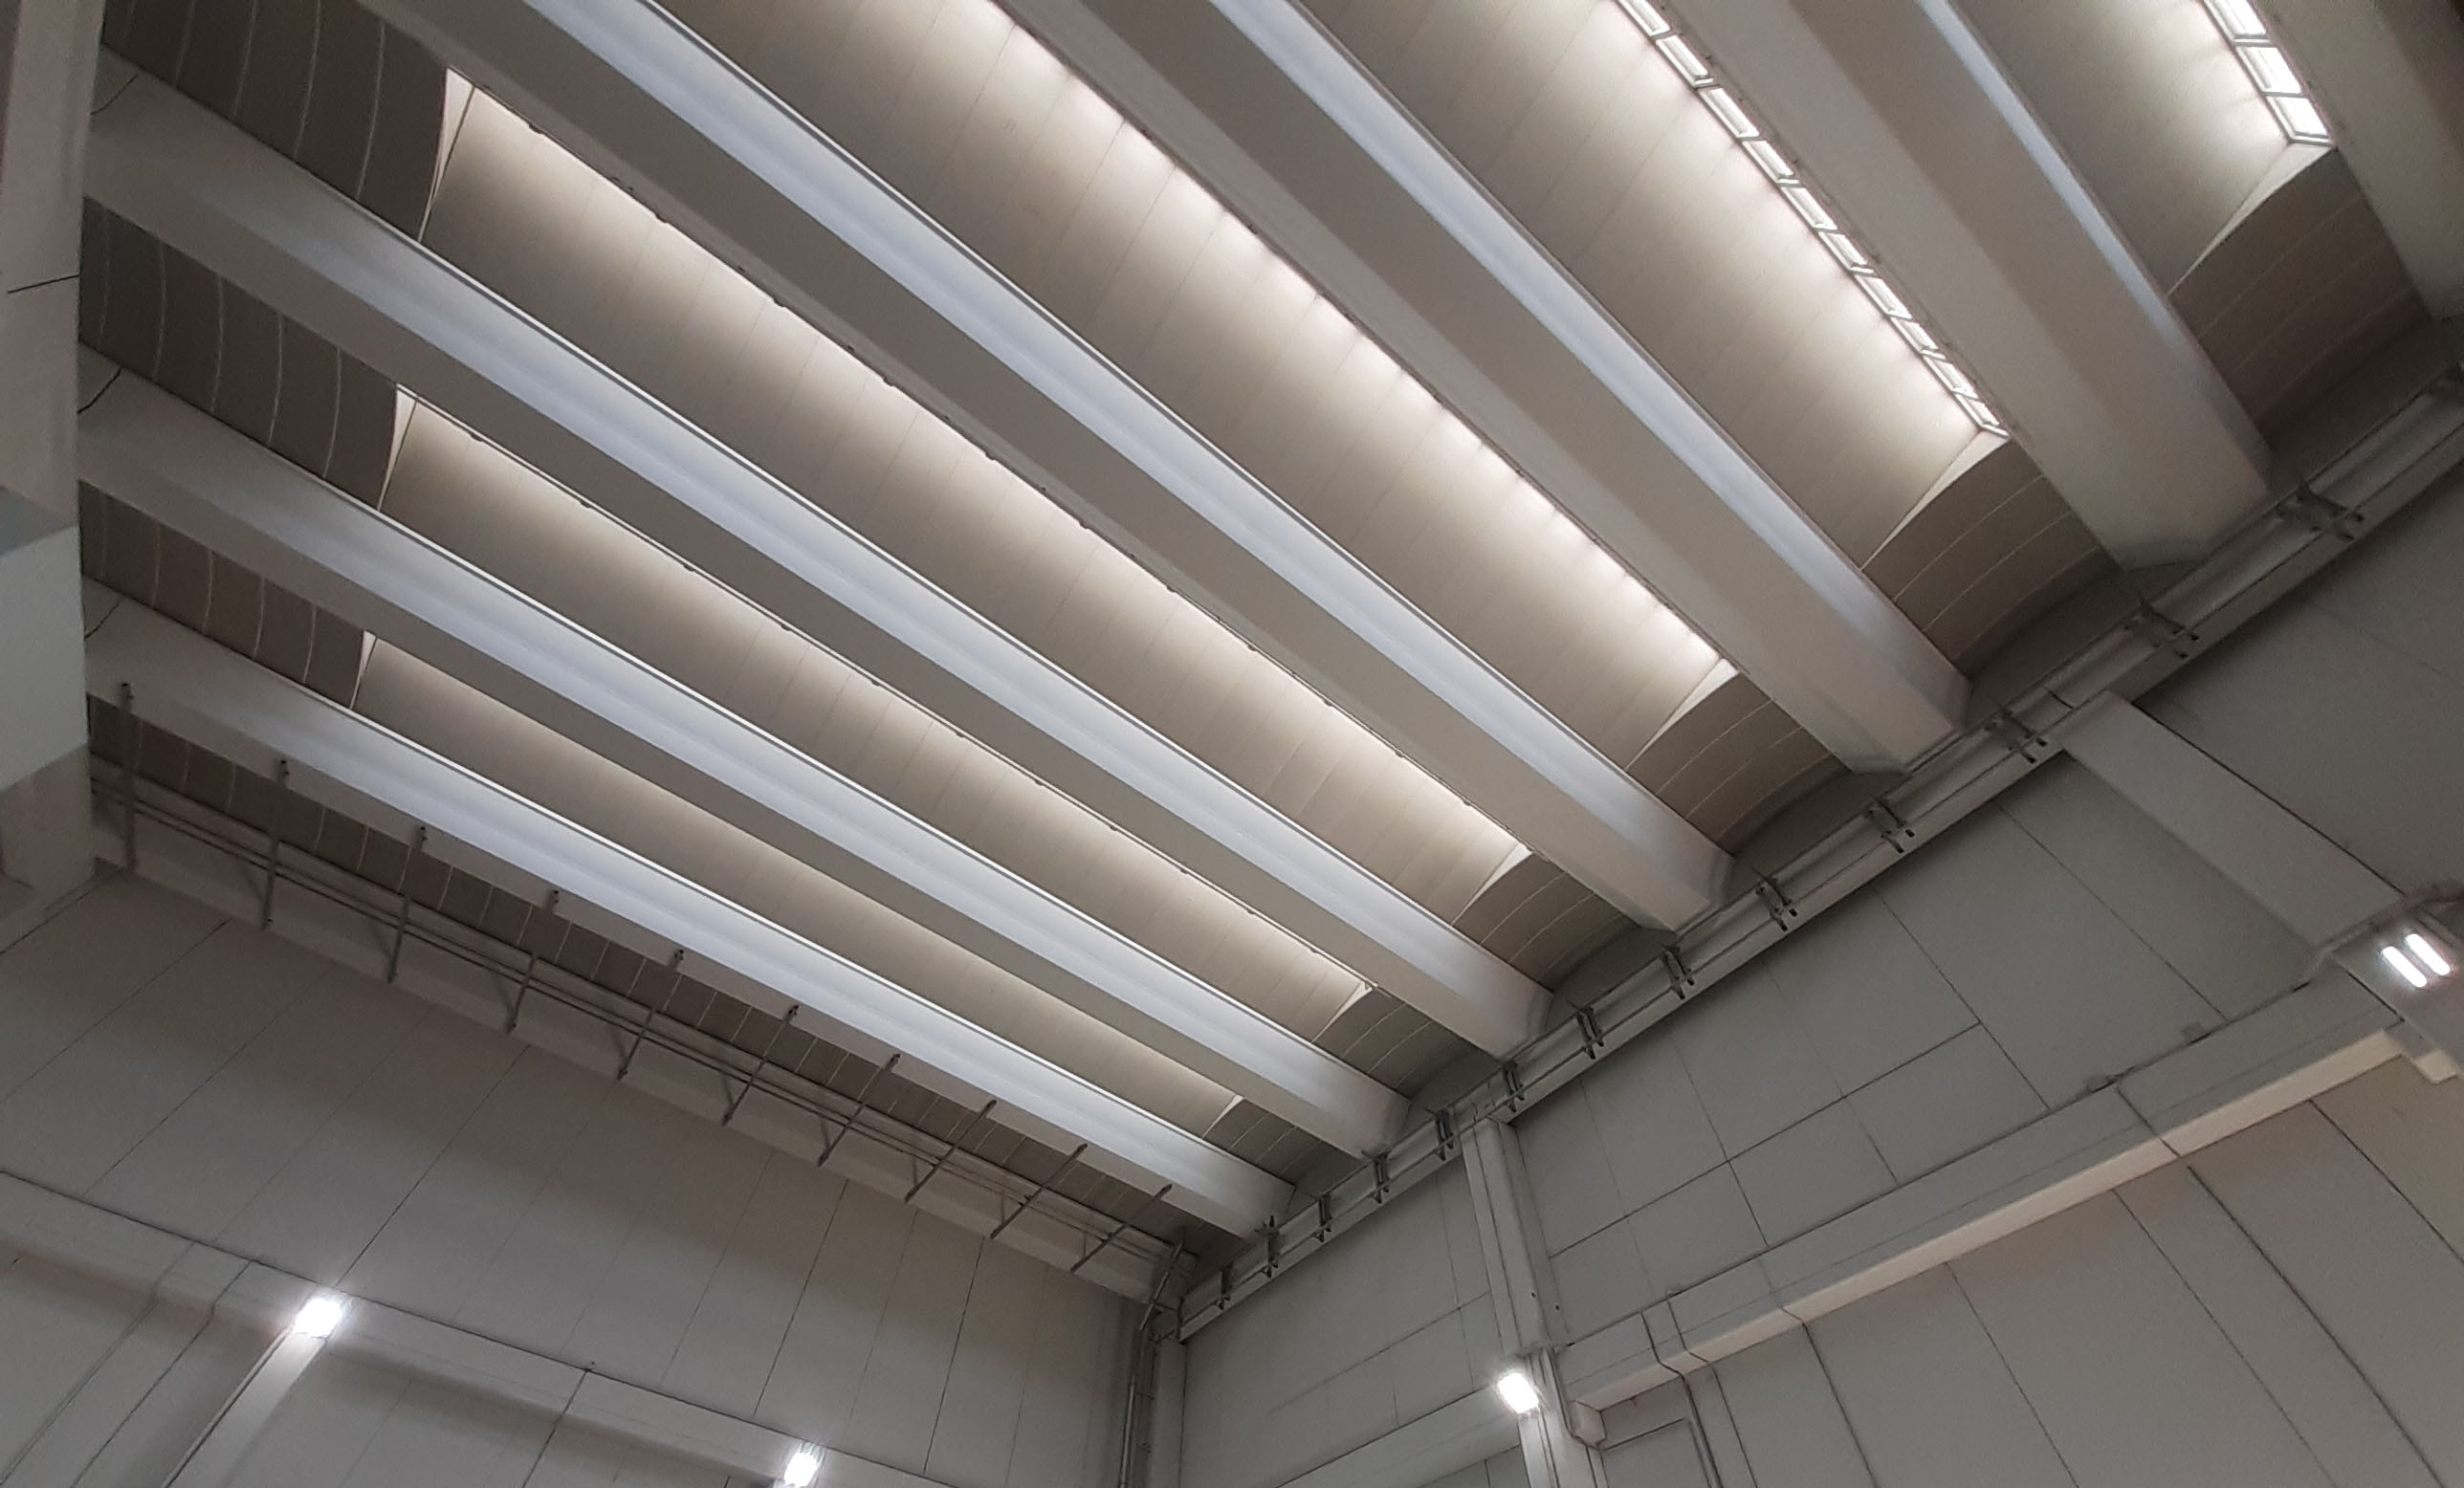
- away from lamps/lights/skylights/neon (to avoid obfuscation and backlight effects).
- in positions compatible with the structural elements present.
- to have always 1 panel near each doorway connecting different areas.
- to see most of the time 2 panels at all locations where the trolley will move.

- Fixing
- Polypropylene panels
- on concrete surfaces – M6 plastic expansion dowels (+ metal washers).
- on metal structures – attached to a frame.
- Stickers
- just remember to clean the mounting surface that might be dusty.
- Polypropylene panels
- Mounting equipment –
- please make sure that whoever does the installation has a scissor lift that is sized properly with the mounting altitude. We are mentioning this because undersized scissor lifts are VERY dangerous.
- please make sure that the scissor lift has enough space to pass through the warehouse gates.
- Orientation – not relevant.
- Mounting order – not relevant.
- Average time of mounting
- Polypropylene panels – take into account that it takes an average of about 20-30 minutes/panel.
- Stickers – take into account that it takes an average of about 5 minutes/sticker.


Costs of the panels
If you are interested, we can we can work with our suppliers to find a competitive quote. Please contact us at this link.
