1 – Get started with your Dragonfly kit
These are the easy steps to start using your Dragonfly kit as soon as you receive it:
1.1 – Start Dragonfly
Option 1 – directly from the mini PC
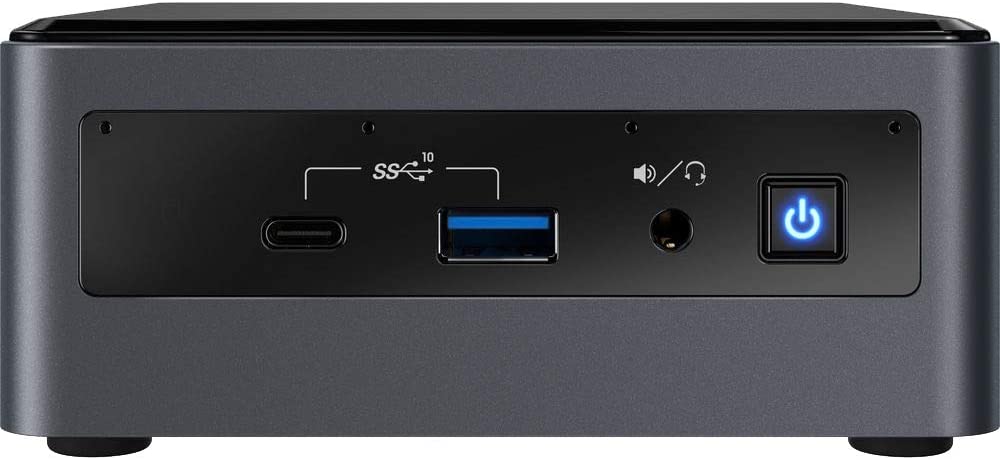
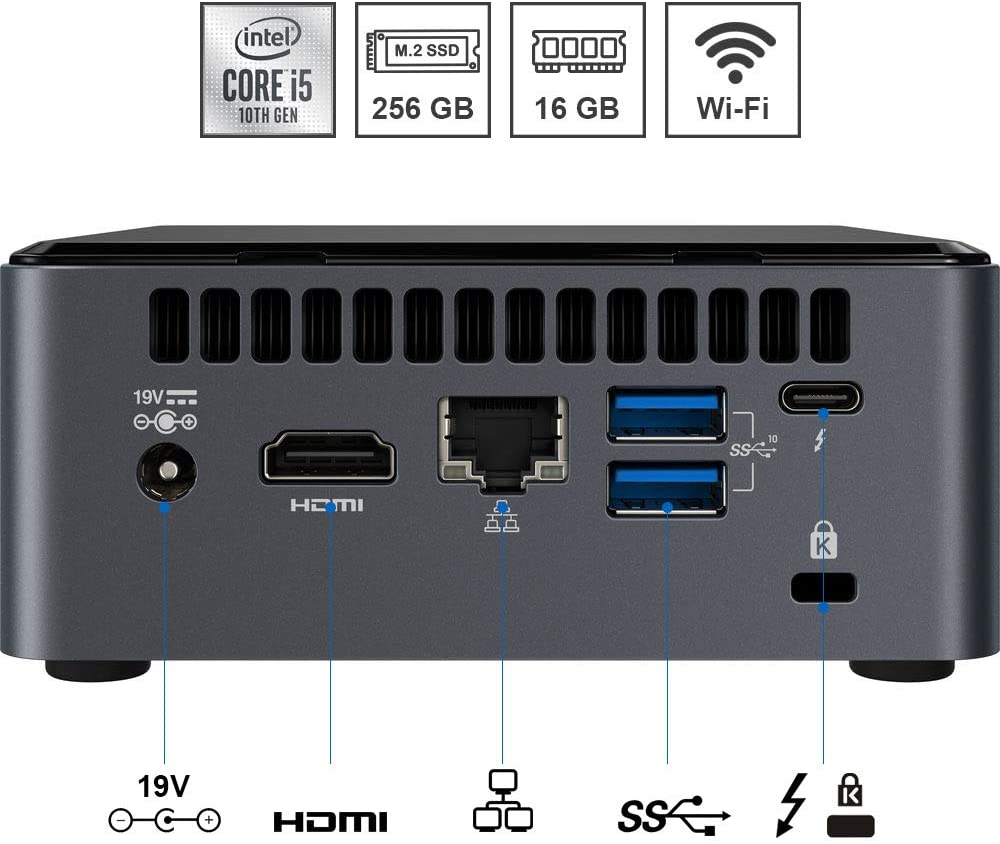
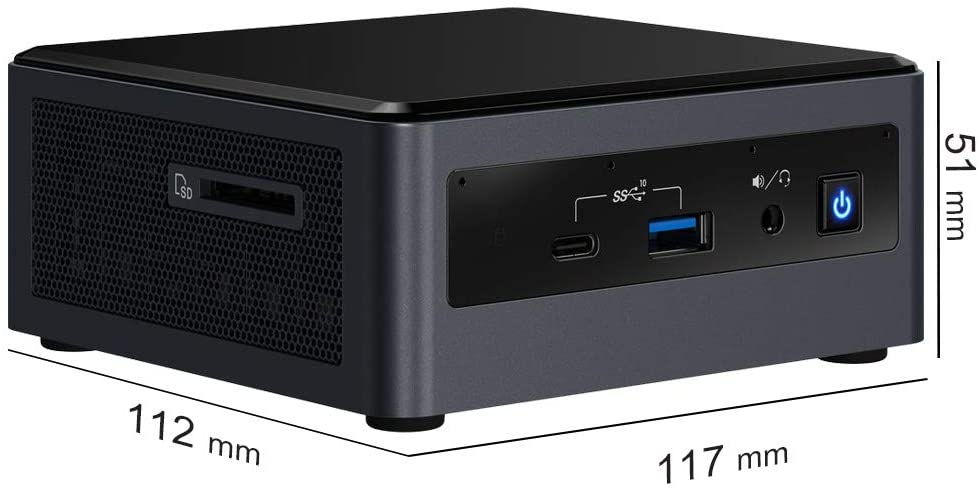
- Connect a monitor with HDMI, a USB mouse and a USB keyboard to the mini PC.
- Turn on the mini PC.
- Connect the mini PC to a Wi-Fi network.
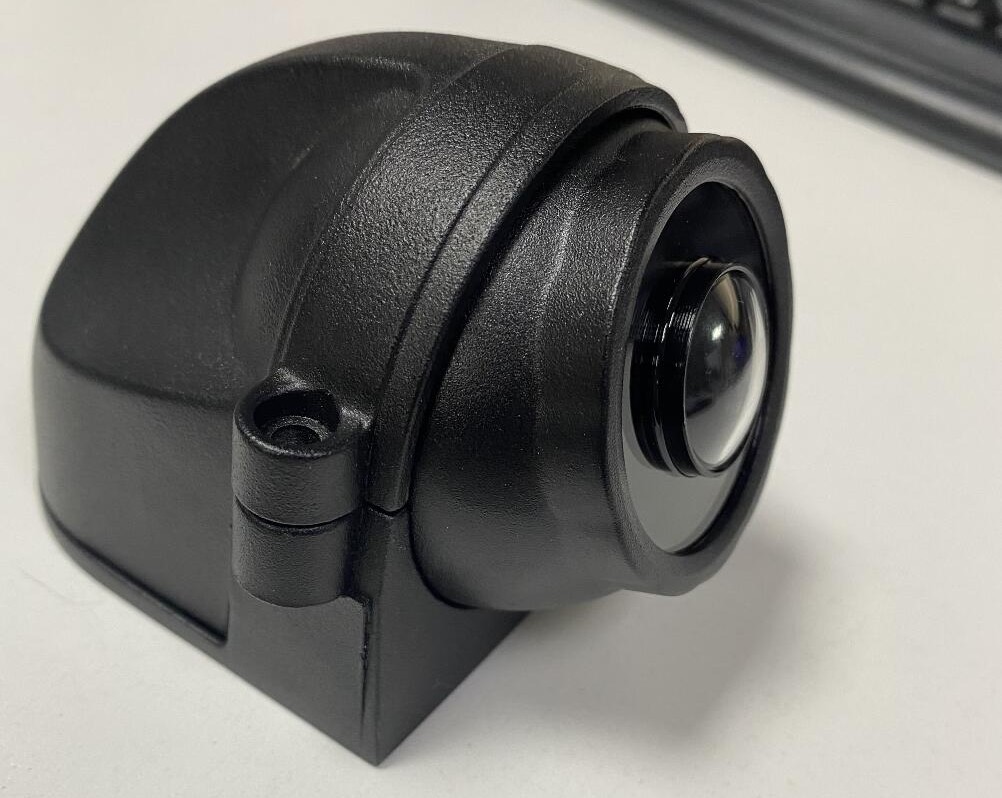
- Connect the USB camera to the mini PC. If you have purchased more than 1 kit please be aware that we have numbered and labelled each mini PC with its camera. Don’t mix them up.
- Launch the Dragonfly App:
- OPTION 1 – double click on the dfja-2.4.0.21-dist.jar shortcut that can be found on the Windows desktop of your mini PC.
- OPTION 2 – open the Command Prompt in Windows, move into the C:\Onit\Dragonfly directory and type the following command:
- java -jar dfja-2.4.0.21-dist.jar
- Open the Dragonfly Web User Interface:
- open your favorite browser and type the following URL: http://localhost:5000/
Option 2 – from a PC connected to the same network of the mini PC
PLEASE READ
The following instructions assumes that you have connected to the mini PC directly at least once in order to setup the SSID and password of the WiFi network that will be used by the mini PC.
- Turn on the mini PC.
- Connect the USB camera to the mini PC. If you have purchased more than 1 kit please be aware that we have numbered and labelled each mini PC with its camera. Don’t mix them up.
- Launch the Dragonfly App from a Windows/Ubuntu PC connected to the same network used by the mini PC:
- ON WINDOWS:
- Download PUTTY from this link and open it.
- Enter as Host Name the local_ip_of_the_mini PC.
- Enter Port 22.
- Click on Open.
- Once PUTTY connects to the terminal of the mini PC please enter the mini PC username (and password if requested), move into the C:\Onit\Dragonfly directory and type the following command:
- java -jar dfja-2.4.0.21-dist.jar
- ON UBUNTU
- Open the Terminal on Ubuntu.
- Once done issue this command to connect to the mini PC (and enter the password if requested):
- ssh mini_pc_username@{ip_of_the_mini_pc} -p 22
- move into the C:OnitDragonfly directory and type the following command:
- java -jar dfja-2.4.0.21-dist.jar
- ON WINDOWS:
- Open the Dragonfly Web User Interface on Windows/Ubuntu PC connected to the same network used by the mini PC:
- open your favorite browser on your PC and type the following URL: http://local_ip_of_the_mini PC:5000
1.2 – Perform the mapping of the area
You can now proceed with mounting the camera and the mapping of your environment starting from this page.
About the Internet connection
You can find all the information you need about this topic at this link.
2 – Additional information
2.1 – Power supply on mobile devices (e.g. forklifts/AGV)
For what concerns the power supply of the mini PC you have mainly 2 options:
- purchase a power inverter – a power inverter takes as input the DC current from a battery and provides as output an 110/220 Volts AC current that can be used by the power supply of the mini PC.
- purchase a DC/DC converter (with the correct DC plug) – the DC/DC converter takes as input the DC current battery and provides as output a regulated 12-19 Volts DC current that can be used directly by the mini PC (without having to use the mini PC power supply).
- This is an example of good quality DC/DC 24/12 converter used by us.
2.2 – Turn on the mini PC automatically when it is connected to the electricity
In order to turn on the mini PC automatically when the power is connected, you need to activate the feature in BIOS settings.
- connect a monitor with HDMI and a USB keyboard to the mini PC and turn it on.
- when the system is on, before the OS boots, you need to keep pressing F2 button to enter the BIOS. Then:
- Go to “Power” tab.
- Click on “Secondary Power Settings”.
- Scroll down to “After Power Failure” and choose “Power On” from the dropdown list.
- Save and exit.
How to automatically launch Dragonfly at boot and automatically re-launch in case of crashes
2.3 – Visualize the spaghetti diagrams and heatmaps
The spaghetti diagrams and heatmaps can be visualized inside the Dragonfly Cloud Dashboard after having activated the storage of the historical positions following these steps.


